Lack Library and Gallery Hack
Materials: Lack 43" and 74" Shelves
Description: I wanted an open library to house a lot of books and have room for art exhibition as well so I started researching LACK shelves. Reviews were mixed as to amount of weight they can handle so I determined I had to attach to minimum of two studs. US studs are 16" apart and on the 74" shelves, there are NO multiples of 16" from any other holes so I
1) confirmed stud location on the wall (and distance between)
2) measured and marked future holes on the rails which I then drilled.
3) Attached rails to studs.
For most cases I was able to hit 3 studs on both lengths of shelves. I'm really satisfied with the results though I might have to add the occasional L-Bracket for some of the shorter shelves that want to dip downwards somewhat. I'm still picking paintings and statuary for the open spaces in the design.
~ Amy S, Portland, OR USA
Sleek Stainless Steel Bird Feeder
Materials: Lansa Handle (21 7/8") $9.99, BLANDA BLANK Serving bowl(5"), Drill, Drill bits, screwdriver, pliers $2.99
Description: Start by drilling drainage holes in the bottom of the bowl.
Then drill a hole in the top just below the rim. In order to use the screws that come with the handle you will have to shorten it with the clipping blades on your pliers.
Thread the screw thru the hole below the rim of the bowl, then the extender piece then into the handle as far as it will go. Mark the screw at the excess point. Disassemble and cut the screw, you may have to make small nips to the tip of the screw to get a clean tip to thread into the handle's hole.
Reassemble if the tilt of the bowl bothers you you can insert a shim below the screw (small piece of wire, plastic etc.) however this will cause a small gap where the horizontal arm meets the bowl. I left my as is.
Insert into the ground, fill with bird seed and enjoy your new best friends as they come to visit!
~ Bambi
Labels:
Blanda Blank,
Lansa,
outdoor
What happens when a 10 ton tree falls on two aging sets TULLERO outdoor furniture?
Materials: TULLERO, power drill, circular saw, 90 degree clamps, bar clamps
Description: I used some of the spare parts to rebuild one of the sets. As I was trying to stuff the remaining wreckage into a trashcan, I noticed how much (mostly) intact lumber I had left. So a few hours and a lot of sweat later, I had an outdoor coffee table. I had previously painted the chairs and bench due to some ugly sun/water damage on the wood, the table had not had any major work done - all the blue pieces were once part of the chairs or bench, and the brown were once a table. The whole thing will be polyurethane coated to showcase the weathering of the wood and paint as well as some damage from the tree. With a full, undamaged set, this could easily be turned into a normal height table - I just did not have the lumber to do it.
Steps:
1) Take apart all the pieces of furniture. Save all the screws.
2) Lay out the long pieces from the bench and table to make an approximately square configuration. Depending on your asthetic taste, you may want to trim these pieces to the same length as I did.
3) Screw the long pieces from the seat of the bench into the under surface of the long pieces on either end. I put a third across the middle to take out some warp in some of the wood. If you overtighten the screws will stick through the surface of your tabletop.
4) Use two boards from the seat or back of the chairs to form a "L" shape along their length (I used 90 degree clamps and a few bar clamps to glue these rather than using screws, but screws should work. Repeat to form 4, these become the legs of the table.
5) Attach the legs through the table top using screw.
6) If you have some extra pieces you can use them as I did to form a lip around the edge
First picture shows nearly finished table, clamps still on trim. Second picture shows the same with the repaired but unmodified table from the original set.
~ J Ackerman
Labels:
outdoor
A Sleek, Wall-Mounted Spice Rack
 |
| photo courtesy of www.casasugar.com |
Materials: RIBBA picture ledge, DROPPAR spice jars
Description: I discovered this while Googling around this morning. It's a simple, but very effective hack to create a minimalist spice rack with a cleverly stenciled RIBBA picture ledge.
Makes me wish I had some wallspace where in my kitchen I could do this same thing!
See more of the Ribba picture ledge spice rack.
~ submitted by Rob O., Odessa, TX
Flower Light
Materials: Stranne Standard Light,Thin card, scissors, glue and punch
Description: Old lights remodelled into a flower light. WIP at the moment. Thin card layered flowers cut from hand and then added to each of the tiny lights. Remove the bulb push on the flower and then screw the bulb back into the holder. Can't be too thick as the bulb won't go back on and connect.
See more of the flower light.
~ Suz, Shropshire UK
Labels:
accessories,
Stranne
The Gorm Sewing Table
Materials: Gorm shelf, racks, Trofast storage boxes, screws, L brackets, etc.
Description: We needed a sewing table and a place to use our laptops in the study room. Popped by Ikea and got a sudden inspiration with Gorm Shelves.
The table top would be made by joined 2 pieces of 83cm by 50 cm gorm shelves. (Have to remove the plastic at the side)
Table legs at 2 sides:
- 1. An L shaped table leg form by 2 gorm shelves.
- 2. A set of drawers using Trofast drawers and Gorm shelves as the structure.
Steps:
1. Join up the L shaped table legs, fairly easy by joining the 2 gorm shelves with L brackets.
2. Fix the L shaped table leg to one side of the Gorm table top.
3. Fix up the Gorm shelves to form the structure for Trofast boxes. We had extra slides from our Trofast boxes. Quite some trial and error here.
4. Join up the drawers above to the other side of the Gorm table using L brackets.
5. Join up the 2 sides of the Gorm table top. (See pic). Further strengthen it with 2 extension Gorm post.
6. Painted the top white and there u go!
See more of their home renovation.
~ Gim and Elsie, Singapore
Labels:
Gorm,
work station
Retro 60's Expedit Stereo Corner
Materials: Expedit Bookcase (White), Besta Vara Door (Walnut Effect), Capita Legs 4" & 6", Orgel Pendant Lamp Shade, Hemma Cord Set, Lerberg CD/DVD Wall Racks
Description: Well, this project is actually for my dad but it is my first IKEA Hack. He has a large collection of vinyl albums, CD's, and even tapes ::scoff:: My parents have had this "den" junked up with stuff for a couple years now and I thought I'd get them jump started on cleaning it up.
I DID borrow this hack from a previous stereo cabinet hack from a few years ago but added a bit more to it.
I started with an Expedit Bookcase, I took 4" Capita legs and attached 6 to the bottom of it. I then took a Besta Vara door, which was the perfect measurement to the depth of the bookcase and length of equipment that was to be stored on it, and I mounted it to the top of the bookcase with 6" Capita legs and 3M Exterior Heavy-duty Double-sided tape. You can find that at most home improvement stores. It's the gray kind that's a bit stretchy...it's easy to remove and it won't damage the laminate. From there is was a matter of finishing touches. I added the Orgel hanging lamp to brighten it up and Lerberg racks on the wall for cd storage and an art effect.
I apologize for the unfinished paint job at the base of the wall and trim. It's all gonna be white to match the crown moulding my brother-in-law and I installed this past weekend. Added a bit of cool artwork and accessories to make the whole thing look retro!
~ Jeremy, Tennessee
Labels:
Expedit,
media storage
Yarn that Blanken
Materials: BLANKEN, plastic bags, scissors
Description: I like the BLANKEN shower caddy but somehow all my stuff falls out of it, when I shower.
To solve this problem I grabbed some white plastic bags and cut them in stripes. I wrapped the plastic "yarn" around the caddy and now everything stays in place. Super simple hack.
See more of the Blanken shower caddy hack.
~ Gerry, Kiel, Germany
Safe Bekvam step stool for toddlers
Materials: Bekvam step stool. 1.25 inch wood. 6 screws.
Description: PROBLEM
2 small children need to reach fragile modern glass bowl sink without injuring sink or themselves.
SOLUTION
- measure height of sink bowl.
- measure out the 1.25 inch left over wood into 3 pieces to arch over the sink to act as a handle for children perched on step stool.
- cut 2 vertical wood pieces and screw onto either side of step stool taking into account where the child will stand on stool. Mid way of top step should do it. Use 2 screws for each side and allow vertical wood pieces to touch floor to make it stable.
- cut last piece as top handle onto top of 2 vertical pieces and attach with 2 screws.
- sand off cut edges to round them.
- paint to suit.
This simple hack not only provides a safe solution for my kids but turns an inexpensive stool into a safer stool for adults that would cost way more for something comparative.
~ Peter Brunton, Orlando, Florida, USA
Trofast frames to play table
Materials: Trofast x's 2, mdf, connecting hardware, glue, nails
Description: We used 2 Trofast frames and put them together according to manufacturers instructions. We connect them together using connecting hardware. We then cut mdf top to fit over both units with some hang over on each side then we cut strips to nail/glue underneath top to keep top from sliding off.
See more of the Trofast play table.
~ Ed and Chris, Indiana
Lamp from a hanging planter
Materials: Skurar hanging planter, Hemma cord
Description: I found this beautiful, doily pattern hanging planter at Ikea a few days ago.
It was just too pretty, to put only flowers in it, I wanted to use it in a different way: as a lamp, in my kitchen!
So, I turned the planter up side down, and drilled a hole, on the top of it.
Finally, I pulled hema cord, thru the hole. (first, I unjoined the upper part)
It is so easy, takes only 5 min! To remove the stickers from the item is much more difficult....;-)
See more of the doily planter lamp.
~ Kata, Budapest
Shoes storage that looks stunning
Materials: MALM, TRONES
Description: This hack is quick simple to realize.
Assemble and fix to the wall 4 TRONES boxes for the shoes storage. 2 columns of 2.
Use the rest of a MALM item (in our case the MALM bed structure) to realize the wood top.
Fix the wood part to the wall.
It's done and it cost you very little money.
~ Laurent, France
Weird (Tasty?) Food Art
 "QUANTUM SHOT" #48 "QUANTUM SHOT" #48Link - article by Avi Abrams Beware: Creative Food can bite into YOU, for a change As you've seen in our previous parts - The Pasta Monster (And Other Strange Food Art), Creative Food Manipulation, there are many creative cooks and artists out there who can turn your mundane lunch or dinner into an unforgettable experience. Sometimes we wonder what sort of crazy Food Art Mr. Bean would create!? (after he's done eating these crustaceans in the French restaurant). 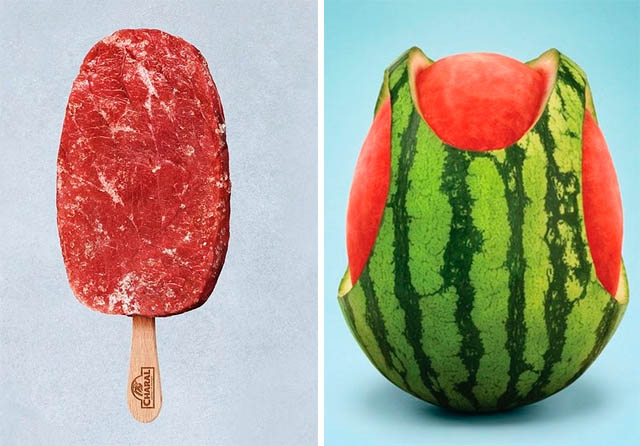 Culinary Carvings ... on cheese: 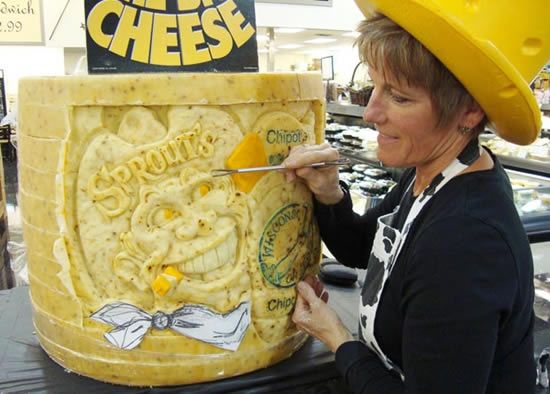 ... with apple slices:  ... with orange peels:    ... egg shells:  (original unknown) The art of good sandwich:  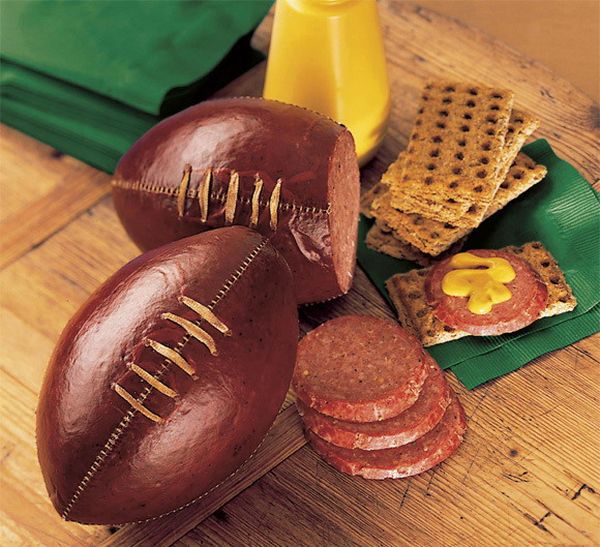  It's a Pea, Pea World:  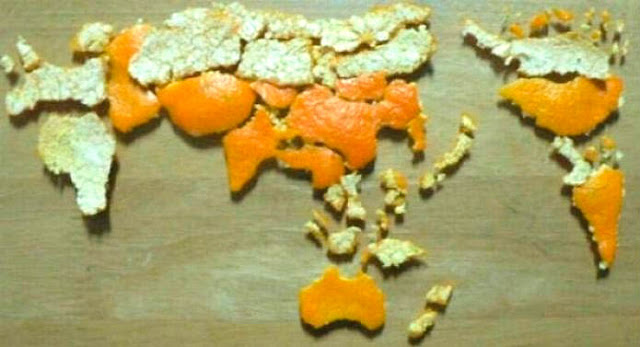  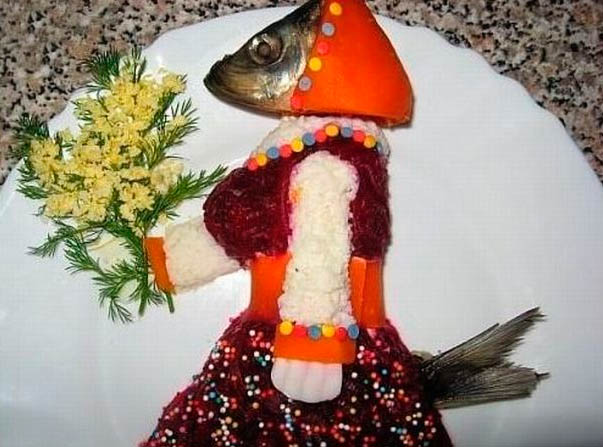 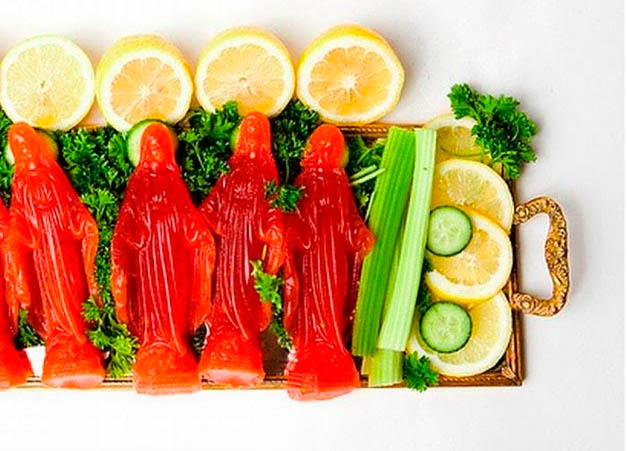 Waffles are great for creatively passing the time:   ------- Extraordinary, unheard-of food Make your tomatoes GOLD (order it here):  (image via) In the absence of ice cream, licking blocks of ice on a hot day (circa 1911):  (image credit: Shorpy) Soft ice-scraper:   Japanese heart-shaped watermelons, costing $160 each - more info: 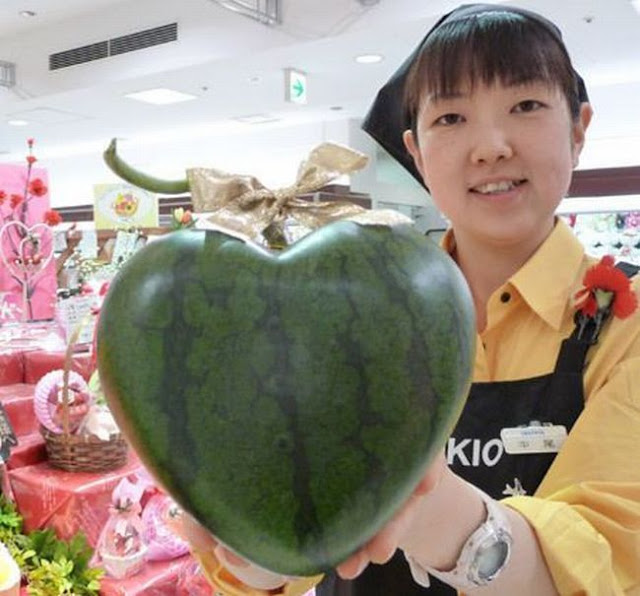 By the way, this is how such unusual fruit shapes are created (more info):  (image via) More wonderful fruit dishes:  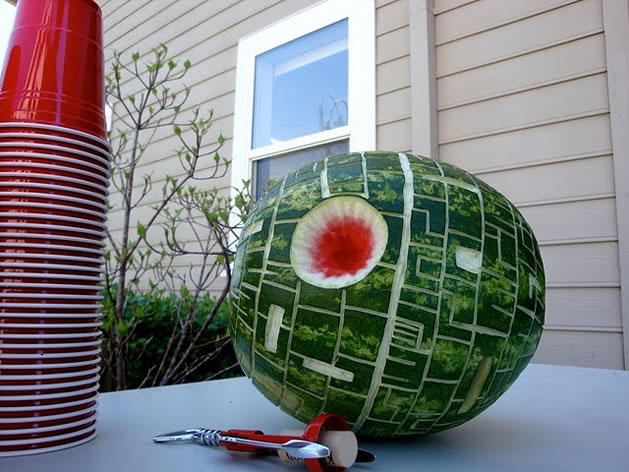 Eat it before it gets born! -  (original unknown) For the miniature food sculptures, visit this link. Lovely little creations. ------- Creative Oddities The Whole Human (sealed and delivered to your food store): 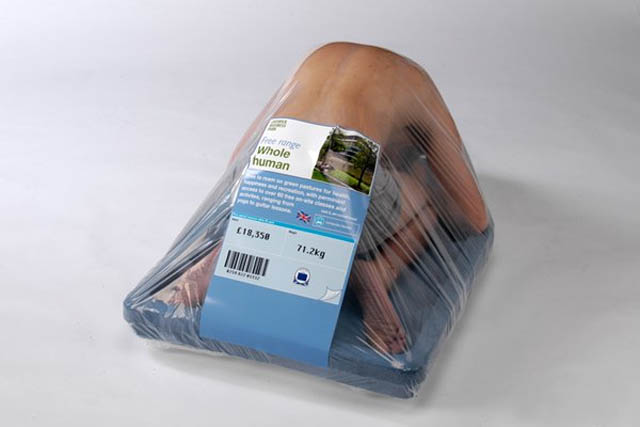 Dog Bread & a very invasive spaghetti: 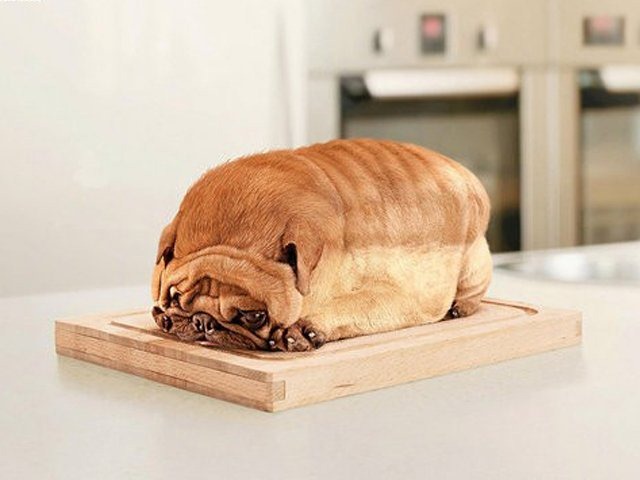  A real product: Cold-Blooded Ice Cubes -  Cookie Monster flash mob: 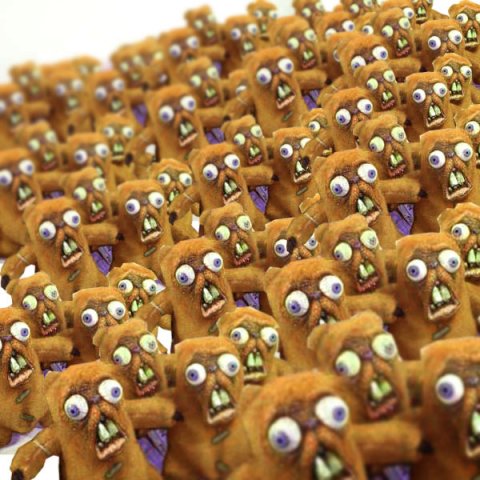   Jim's Pancakes site has a different pancake sculpture almost every morning: 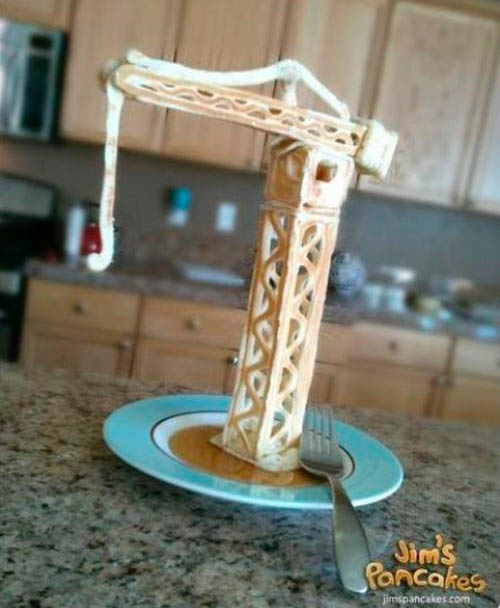 Kitchen games:   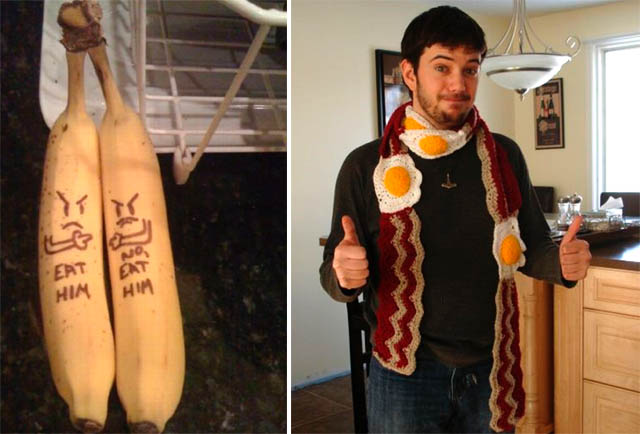 Edible Cuties: 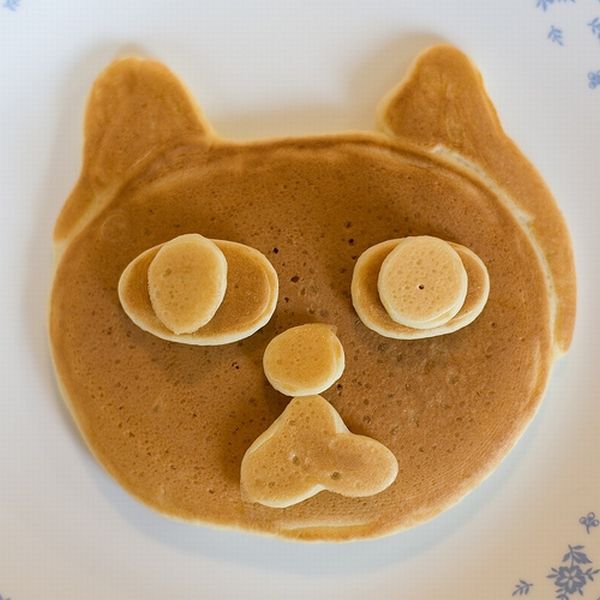   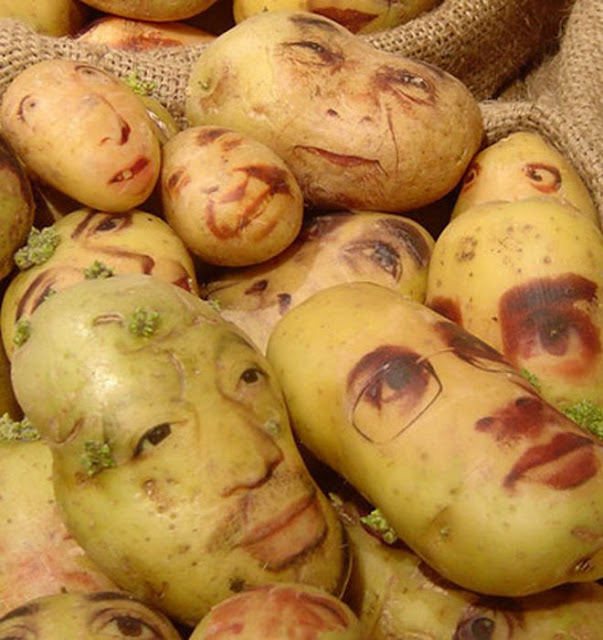 This "food" was born this way: 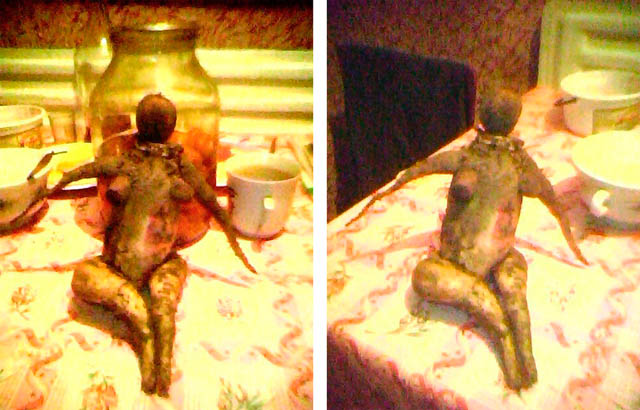 ------- Egg Drama     Egg-drama reaches new heights at "Nocturnal Moth" - see more here:   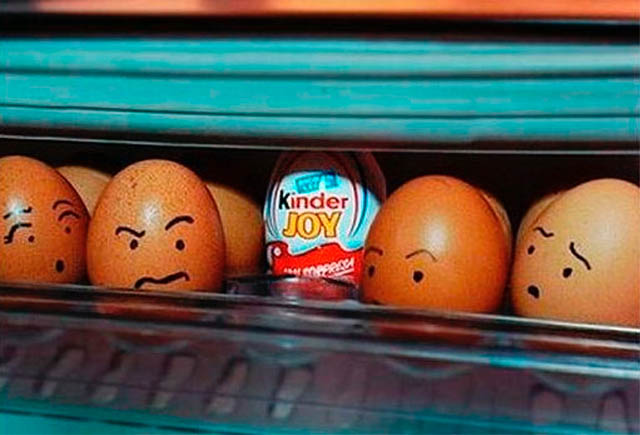 (image credit: Nocturnal Moth) Chicken Run? How about Egg Run -  Mercilessly shot by the photographer Ryan Matthew Smith (his "Modernist Cuisine" series is exceptional, too):  (image via) How would you like to face this egg holder in the mornings? -  or even worse... -  (original unknown) All's well that ends well: 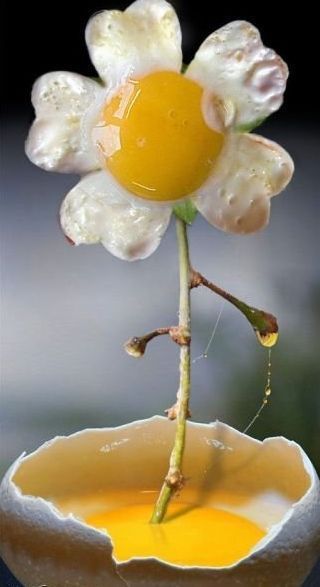 ------- Cake Drama... and other Feral Foods It all starts with a double cake rainbow:  - or maybe a double-rainbow Jell-O deserts?  (original unknown) Roswell UFO alien autopsy:  Marshmallow Drama (among many other great food scenes at Bent Objects, by Terry Border: 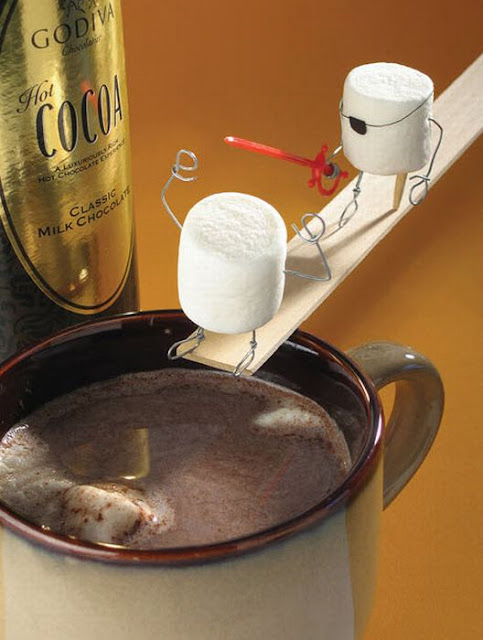 (image via) Wonderfully creative Muppet cupcakes (see more here):  (image via)  (image credit: Andre Baumecker) On a crime scene (art by Kevin Van Aelst): 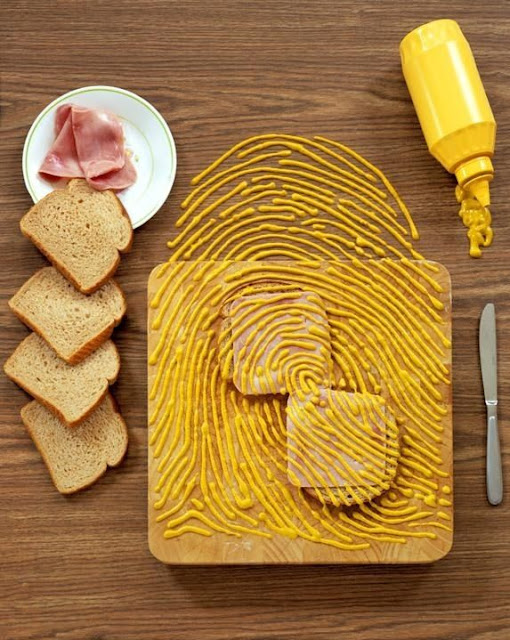 (image credit: Kevin Van Aelst) Feral food attack! -     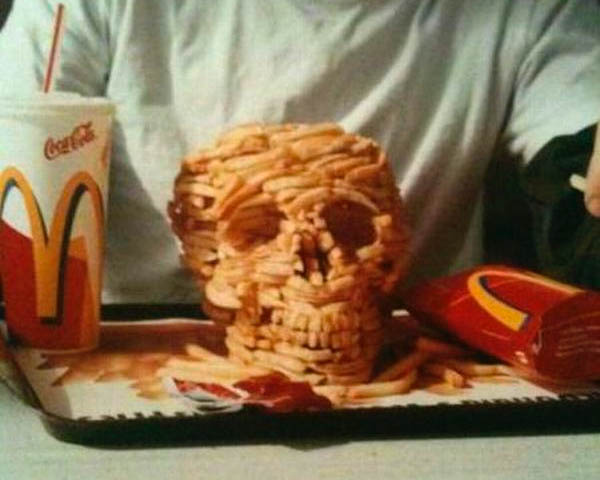  (image via) Outdoor Chtulhu sightings:  - and indoor ones: 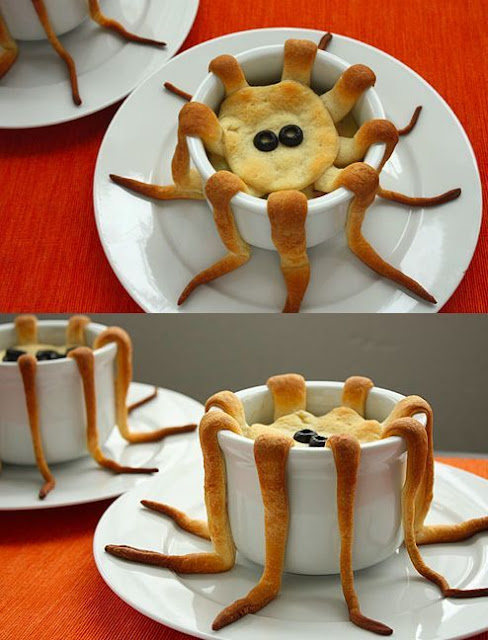 ------- Dishes Suitable to Weird Food A hungry dish: 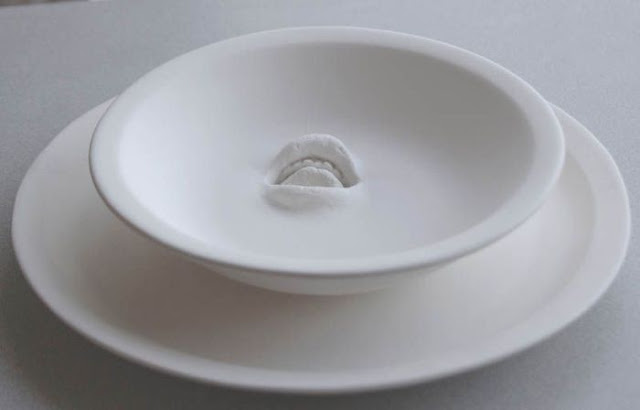 A dish of... something:  An awesome drinking straw:  (original unknown) ------- Groovy Vintage Foods Section Beer & BBQ ruled in the 1950s, just as they rule now:    We're going to conclude with this helpful chart: 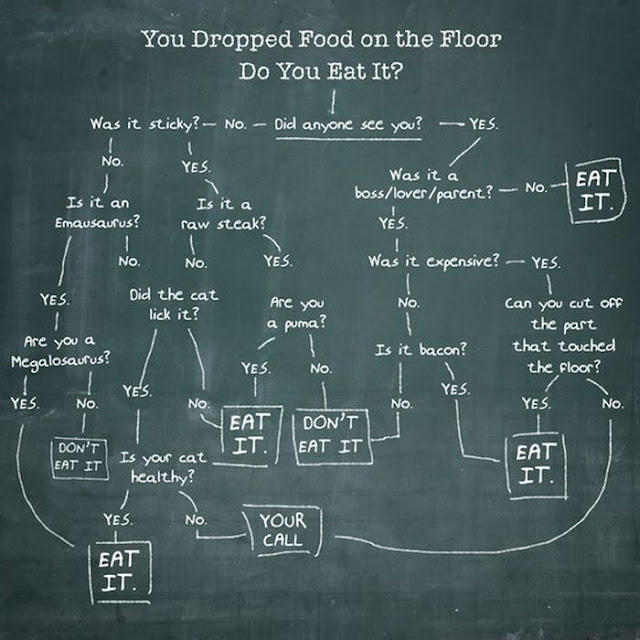 (original unknown) CONTINUE TO OTHER PART OF THIS ARTICLE! -> CHECK OUT THE REST OF "WEIRD FOOD" SERIES ->
|
Subscribe to:
Posts (Atom)
Check out this stream
Blog Archive
-
▼
2011
(661)
-
▼
May
(86)
- Lack Library and Gallery Hack
- Sleek Stainless Steel Bird Feeder
- What happens when a 10 ton tree falls on two aging...
- A Sleek, Wall-Mounted Spice Rack
- Flower Light
- The Gorm Sewing Table
- Retro 60's Expedit Stereo Corner
- Yarn that Blanken
- Safe Bekvam step stool for toddlers
- Trofast frames to play table
- Lamp from a hanging planter
- Shoes storage that looks stunning
- Weird (Tasty?) Food Art
- Ikea MY melodi
- Alternative assembling/hanging of LACK zig-zag she...
- SPONTAN Magnetic NOT Markerboard
- A Place for Everything
- Dish drainer for everybody!
- A Sad, Old, and Tired Table Gets A Second Wind, Th...
- Space-Saving STUVA Storage Closet and Shelf Inset ...
- IKEA Hackers: Previously on Ikeahackers: 22 - 28 M...
- LACK bar table on a EXPEDIT shelf
- The Ehlers Lid-light
- ALEX work table with flat files
- EFFEKTIV standing desk
- Absolutely Hilarious Signs, Part 14
- MALM marries ALSARP
- Recipe Bar/ Planning Desk
- Spectacular Cog Railways
- Minimalistic floor-to-ceiling climbing post for cats
- Lack small side table with shelf
- Double Bunk
- Lack and Vika Amon Sideboard
- Samtid Lamp into the future
- Toy car from redundant Stuva legs
- Link Latte 157
- Gilded Drum Lamps
- BRANAS stool + table + plant pot
- Fun Kura Makeover
- Kitchen drawer divider becomes iPhone 4 car clip
- Previously on Ikeahackers: 15 - 21 May 2007
- Dressing Table
- Home Office Underbelly
- Steel Me - pendant luminaire
- Malm + Bastis = Baby Dresser
- Turning A Sphere Inside Out
- Waiting for the mail
- Herbal Regal for the Terrace
- Ultimate Entertainment Unit
- Antonius frame turns into printer cabinet, to its ...
- Felicia throw chair cover
- To Dine for Hack
- Antiqued Mirror Wall
- Blind Alternative
- Saucy Cyril Secretary
- Aneboda High Cabinet
- Sniglar grows up too!
- Bedroom malm nightstand and Pax TV stand hack
- Varde Island with mosaic front panel
- Gargoyles & Grotesques, Part 2
- The Frost(a) Sledge
- Black / Gold
- Looong bench-cabinet
- Previously on IKEAHacker: 8 - 14 May
- Expedit re-purposed as bed frame for maximum storage
- IKEA Lack-console table
- Oops! Craziest Accidents (Wow Pics)
- Category: Exclusive Interviews
- From Malm to Marvellous
- Cupboard + brackets = table
- Bottle Rack to Side Table
- Rusch Clock Face, Background
- Wooden bathmat/duckboard
- We not only hacked. We moved in.
- Base + Base = Tower
- Director's chair for the Ikea Jeff Folding Chair
- Woodland Inspired Rug
- Ritva Curtains and a Band of Ribbon
- Nuclear Everything!
- Tromso got flipped, turned upside-down
- "grass-diving-dogs"-as(s-) rack
- Comic Book Heroes
- Hol Cat Litter box with Sliding Top
- Spotlight on Gisbert Van Ginkel, the very busy hacker
- Lantst lle vase pendant
- This week previously: 1 - 7 May 2007
-
▼
May
(86)


