Eiffel lamp
Materials: Hyllis and perforated steel tape
Description: I used the 4 legs of HYLLIS in combination with screws, nuts and perforated steel tape like meccano for creating a floor lamp.
~ Peter Van Zoetendaal, Netherlands
Upholstered Ikea Besta
Materials: Besta, hammer, upholstery nails, pen, ruler, paper
Description: We used Besta cabinets for this project.
1. Cut a piece of paper in a pattern that you like and trace it on the doors.
2. I then marked, with a pencil, where I wanted the nails to be.
3. Hammer down an upholstery nail on each marking
4. Enjoy!
See more of the upholstered Besta as well as her other easy and cheap DIY projects.
~ Tina @ Signed by Tina, Sweden
Tutorial - How to Dye Wool Felt with Kool Aid
Love the mottled colors and looks like a lot of fun!Rainbow Dyed Felt With KoolAid Tutorial at Fiona Duthie
"Dyeing with food dyes, including Kool Aid is a great project for working with children, and can also be a practical way for anyone to get some lovely variegated wool felt into their stash! We dyed ours with Kool Aid, as a way to get a nice mix of colors, with just white wool felt, and some easy to find ingredients. Food coloring or cake decorating colors also work using the same principles- they all work as acid dyes on the wool fibers..." Read more
Tutorial - How to Make a Shabby Chic Box
The translation isn't great, but the results of the tutorial sure are! I love this style and I think that we can figure it out using the translation and the photos.
Shabby Chic Box Tutorial at Biljana Shabby
"My first tutorial for making shabby kutijice.Nadam, that will be understandable and concise..." Read more
Labels:
decoupage,
home decor,
painting
Hang it up
Materials: Ung Drill Frame, Anno Sanela Panel Fabric, Hot Glue, Cork, Pins
Description:
1. Remove backside of Ung frame
2. Cut a roll of cork to fit in the backside of your frame
3. Hot glue cotton batting to cork
4. Wrap batting and cork with fabric. I happened to have leftovers from my Anno Sanela Panels and used this to upholster my cork/batting.
5. Place into frame and secure
6. Wrap ribbon and/or flower embellishments to create a more personalized look
7. Place pins as desired on board
8. Hang jewelry and enjoy!~
See more of the Ung Drill jewelry holder.
~ Erin Dayala
Tutorial - How to Make a No Snap Baby Romper / Sleeper
No Snap Baby Romper / Sleepers Tutorial at Life on Willowdale
"So I'm forbidden from sewing pretty dresses for my son and I've already sewn a bunch of pants and a few sweaters but there is also the one piece sleeper left to sew and it can be infinitely cute and done so many different ways. But I don't want to deal with snaps or make a million button holes. So that's where this new no snap solution comes in. I thought of the idea, I tested it a few times. It works! It's brilliant! And it's not only easier to make than one with snaps it's easier to use!
I put a single zipper on the inside seam of both legs. So you still have to put the sleeper over the big baby head but you don't have to open it up all the way from the neck exposing little bellies during every diaper change like the zipper sleepers I've seen in stores. And the zip does up so much faster than all those fiddly snaps. Therefore I call it brilliant. And it's a great way to use old T-shirt..." Read more
Buffet Expedit
Materials: EXPEDIT / EXPEDIT ACCESSORY / GLIRA
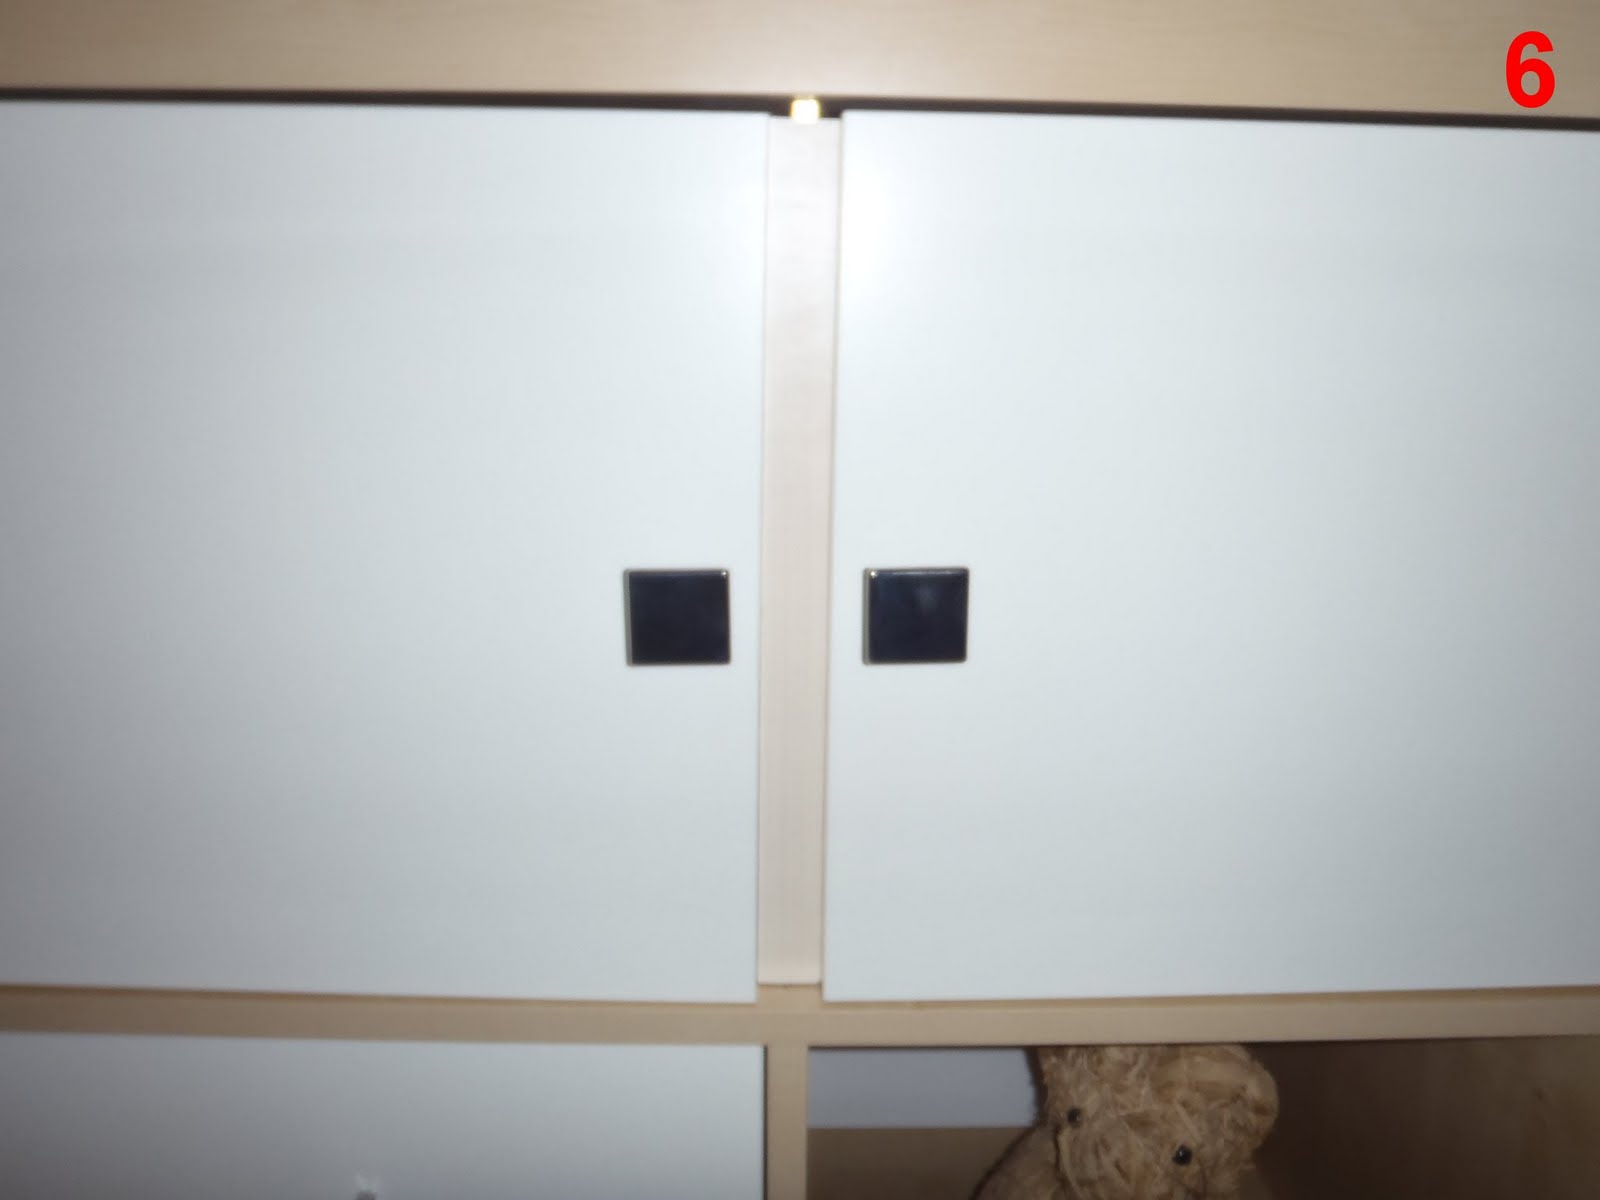
Description: I took a "16 boxes EXPEDIT", and turned it to a buffet. I didn't put the 2 top racks on their places but I replaced them in other boxes (photo #1) with cleats (#2) to create smaller compartments where I can arrange CD or other stuff.
On the top, the left large place became a bar (#3). I just added a metal part (covered with adhesive wood grain) (#4 & #5) on one of the door to fill the hole (#6). Change the doorknobs into GLIRA and that's it!
~ Noëlle, Bourg en Bresse, France
Subscribe to:
Posts (Atom)