Showing posts with label Expedit. Show all posts
Retro 60's Expedit Stereo Corner
Materials: Expedit Bookcase (White), Besta Vara Door (Walnut Effect), Capita Legs 4" & 6", Orgel Pendant Lamp Shade, Hemma Cord Set, Lerberg CD/DVD Wall Racks
Description: Well, this project is actually for my dad but it is my first IKEA Hack. He has a large collection of vinyl albums, CD's, and even tapes ::scoff:: My parents have had this "den" junked up with stuff for a couple years now and I thought I'd get them jump started on cleaning it up.
I DID borrow this hack from a previous stereo cabinet hack from a few years ago but added a bit more to it.
I started with an Expedit Bookcase, I took 4" Capita legs and attached 6 to the bottom of it. I then took a Besta Vara door, which was the perfect measurement to the depth of the bookcase and length of equipment that was to be stored on it, and I mounted it to the top of the bookcase with 6" Capita legs and 3M Exterior Heavy-duty Double-sided tape. You can find that at most home improvement stores. It's the gray kind that's a bit stretchy...it's easy to remove and it won't damage the laminate. From there is was a matter of finishing touches. I added the Orgel hanging lamp to brighten it up and Lerberg racks on the wall for cd storage and an art effect.
I apologize for the unfinished paint job at the base of the wall and trim. It's all gonna be white to match the crown moulding my brother-in-law and I installed this past weekend. Added a bit of cool artwork and accessories to make the whole thing look retro!
~ Jeremy, Tennessee
Labels:
Expedit,
media storage
LACK bar table on a EXPEDIT shelf
Materials: EXPEDIT, CAPITA, VIKA BYSKE, LACK
Description: It is a relatively simple hack.
A LACK coffee table is mounted on a EXPEDIT shelf. The photos should be self-explanatory. The table is attached with CAPITA to the shelf and is on the other side on two VIKA BYSKE legs.
1x EXPEDIT (101.030.88 59€)
1x LACK Coffee table (101.042.95 16,99€)
1x CAPITA (400.511.96 15,99€)
2x VIKA BYSKE (846.090.85 36€)
~ TimoP, Germany
Labels:
Expedit,
Lack,
work station
Expedit re-purposed as bed frame for maximum storage
Materials: Expedit bookcases, Sultan Luroy slats
Description:
Step 1. Trawl endless furniture shops looking for a cheap, portable bed frame with lots of storage. Impossible!
Step 2. A friend suggested stealing milk crates to use as a frame - far too much effort trying to track enough down!
Step 3. A quick search for "milk-crate" inspiration found this but I thought it was way too high so investigated a few other options, meanwhile, still sleeping on the floor :(
Step 4. Ikea just brought out a single-layer version of the Expedit, so this was very straightforward to construct. i.e. build 2 bookshelves, space them apart, lay the slats on top. Done!
I expect I will have to fasten the slats down more securely (currently held with masking tape on strips of cardboard) and the bookcases aren't quite as long as the bed so I'm going to build another box to go under the end of the mattress for more support, but it's a vast improvement on what I had before.
So for $268, I now have a bed frame I can transport in a small car, carry up 3 flights of stairs on my own and store heaps of junk in it!
~ Jill, Sydney
Expedit standing desk
Materials: Expedite shelving units
Description:
Overview:
A large standing desk using Expedite shelving parts. At 48" high, it's high enough for a tall person to rest their elbows on. At 73" width, it's large enough to hold a bunch of gear AND eat meals on. At ~$250 in parts, it's a great value for the size.
Ikea items:
2 x 2x2 Expedit shelving unit (801.352.98, $40 each)
2 x 5x1 Expedit shelving unit (201.162.74, $60 each)
1 x 73"x10" Lack shelf (601.037.50 $30)
Hardware store items:
- 8 x metal braces
- 96" 4x1.5" board cut up for shelf supports (can substitute for Capital legs for class).
Instructions:
1) Lay both fully constructed 2x2 units across from each other.
2) Lay fully constructed 1x5 unit across back of top (one step ahead of construction photo 2)
3) Lay partially constructed 1x5 on front of top. This partially constructed shelf should only include three pieces: two short sides and one long side. This leaves enough space underneath to slide a high chair or bar stool underneath.
4) Bolt pieces together using braces and screws.
5) Attach lack shelf, supported by Capita brackets or cut up boards.
See more of the Expedit standing desk.
~ Peter Marks, Portland, OR
Labels:
Expedit,
work station
Expedit turned into a guitar amp enclosure
Materials: 1 "Expedit" Shelf, 1 "Rill" pack of 4 wheels, 4 brackets
Description: Having a 50 watt guitar amp at home can be quite messy when doing the weekly clean-up. I saw at friend's house an Expedit shelf used as base for a 2x12 guitar combo, so I thought it would be a great idea to have it with wheels so you can move it to your desire without effort (Tube guitar amps can be quite heavy) and in addition, keep my pedal case tidily.
Here's my hack :
- Assemble the outside square of the Expedit shelf
- Throw away the little separators and keep the big one
- Fix the squares to the desired height and put on the shelf you keep from the previous point
- Fix the four wheels with an electric screwdriver and ...
Voila!!
~ Joan Aparicio, Zaragoza - Spain
Ikea Expedit Three-Story Hamster Habitat
Materials: Expedit 5-by-5 bookcase
Fred is probably the P. Diddy equivalent of Hamsterville, with a 5x5 Expedit megahome all to himself. Katja, Fred's dotting owner, removed dividers on two "floors" to create large spaces to stretch Fred's short little legs. She also decorated the space with hamster luxuries like wooden ladders, bubbly cork goodness for Fred to dive in and play.
See more of the Expedit Hamster mansion. [via Pawesome.net]
~ Sonia Zjawinski
Labels:
Expedit,
pet furniture
Besta climbs on Expedit
Materials: Expedit, Besta
Description: We decided to move around the furniture in our living room, to get more space around the couch. We ended up with the Expedit and the two Besta bookshelves, which didn't really fit together, because of the different high and depth.
So we had the idea to put the Bestas on top of the Expedit. We only needed to remove the top of the shelves since it did not fit underneath the ceiling.
And we fixed the Bestas to the wall by using the attachments provided with the IKEA kitchen Faktum cabinets.
In between the two Bestas, I added extra shelves to put some decoration. And behind the green painting, we have the temperature control device for the heating system., which is now nicely covered, and can still be easily accessed.
Bye the way, those Bestas have a lot more shelves than the originally provided amount. They where bought in the hardware store. For us its the perfect book shelves, since they have the right depth for soft-covers.
~ Anna, Bremen, Germany
Expedit Wine Rack
Materials: Any expedit, spare expedit shelves (or just any other wooden shelves), saw, paint
Description: As I wanted a wine rack, but had no place left to put one, my eye turned to the Expedit I had in use as a room divider. Noticing how it might accommodate four bottles in a # design, I set out to make an Expedit style wine rack.
Really all you need is four shelves, a saw, and some patience. Spare Expedit shelves will do great, since they're already in a matching color and of the right
size*, but any shelves will do.
Saw two slots into each shelf at exactly 1/3 and 2/3 of the width (see schematic). Paint the shelves as required, then slide them together and insert into Expedit. That's all!
* actually, if you go with Expedit shelves, have a mind to take out the saw and make them square, instead of rectangular. I didn't realize at the time that the Expedit "squares" are not cubes - their depth is greater than height and width. Using square shelves will leave you with about 3 inches of extra storage space behind the bottles, and the shelves will still be longer than any wine bottle you'll put in.
~ Joost, The Netherlands
3-in-1 Expedit Kitchen Counter
Materials: Expedit Shelf, Vika Amon Table Top, Capita Legs
Description: So my wife and I were setting up our first home, and it's a small but beautiful white box of a place with a minimalist excuse of a kitchen along one wall of the living room.
We figured we needed some sort of dining table, plus more kitchen counter space, space to work at our laptops, plus general storage... all without taking up precious living room space. What better solution than to use the Expedit bookcase on its side as a storage base for a kitchen/dining counter!
Sure, we've seen lots of hacks with Expedit shelves, Capita legs and various table tops, but I thought I'd just share the little touches that made this project extra special.
1) Ingredients: One Expedit Shelf, assembled. Check!
2) The underbelly of my Vika Amon table top. Note the asymmetrical positioning of the Capita legs, cuz of my cantilevered design!
3) Since I knew the cantilevered top would have to take a lot of stress, I figured that I had to secure the Capita Legs to the Expedit with more than just double sided foam tape. This is a closeup of how each Capita leg base was screwed into the Expedit. I had to chisel away bits of plastic to fit the screw heads. (The bits of 3M tape were just there to help me position the legs accurately.)
4) The metal cap hides the screws completely!
5) The penultimate step... just before popping the table top onto the plastic feet.
6)The gap under the table top is perfect for keeping our 2 laptops and with mice and cables away for mealtimes!
7) The table top floats away from the wall for more comfortable seating (no one likes to be squeezed against the wall). The resultant gap is perfect for keeping table-top accessories like utensils and tissues. Our Nespresso machine lives there now.
8) The finished Kitchen-counter/Dining-Table/Work-Station. 3-in-1! Completed with a few Kassett boxes and Stig stools. The open shelving lets light through to our kitchen, with space to display our books and knick-knacks.
Enjoy!
P.S. The curvy wooden thing is an stool I made as a freshman design+build project in architecture school. Cost me a bomb to fly that back home to Singapore from Pittsburgh, but it is so happy to have the place of honour at our dining table! (And it's way more comfortable than the Stig stools!!)
~ ucn, Singapore
Expedit Paper Trays
Materials: Screws/ extra Expedit shelves
Description: I was looking at paper trays because im always getting the printer/copy paper mixed up. I looked online for cheap plastic ones thinking they would be $1 a piece but the cheapest i could find was $3-4 so I decided to make my own which I think looks better anyway.
1) in one of the open cubical I drilled 2 screws on each side at every 3.5".
2) I rested the extra shelf on top of the screws.
Whalla
~ Thomas Hart, USA
Labels:
Expedit,
work station
EXPEDIT wardrobe with plants
Materials: Wxpedit, Dampa, Bigarra, Ikea plants
Description:
1) Assemble 4x4 EXPEDIT with only one vertical row of shelves on the left and without the bottom.
2) Before adding the right vertical panel put in two screws that stand out half an inch to hold the DAMPA curtain rod.
3) Cut the rod to the right size, put it in place, add the right panel.
4) Add three EXPEDIT inserts with doors on the left.
5) Add the plants in BIGARRA pots on top.
Assembling it is faster than assembling the whole Expedit.
This wardrobe is great to create a semi-transparent division between entrance and living room.
~ imaia, Vancouver
Expedit Baby Closet
Materials: 2x8 and 4x4 Expedit shelves, white
Description: We have very limited space and really small closets in our home, so I came up with an idea to utilize vertical space for baby clothes.
We already had the 2x8 Expedit, so this hack only cost around $40 for the new 4x4 unit, closet rod and rod holders.
We simply put the 4x4 Expedit together leaving out the inner shelving, and installed a closet rod. The 2 units aren't attached to each other, but I did use those gummy sticky dots for stability in addition to the wall mounting hardware included with the Expedit.
~ Valerie Foster, Phoenix, AZ
Expedit Bar
Materials: Expedit, Capita, Lack
Description: Just screw the LACK wall shelf with CAPITA brackets on an EXPEDIT room divider.
Ready for the next cocktail party :-)
~ Eva, Leverkusen, Germany
Labels:
Expedit,
miscellaneous
Sofia Stripes on an Expedit Shelf
Materials: Expedit shelf, Sophia fabric
Description: It was super basic- I just trimmed some $.99/yard Sophia striped fabric to the size of the Expedit shelf.
I temporarily taped the edges of the fabric onto the back of the shelf to figure out where I needed to cut holes for the cords of the printer, modem, xbox, etc.
After the holes were neatly cut, I simply used hot glue to affix the fabric to the back of the shelf, keeping the fabric stripes in line with the lines of the shelves.
I then trimmed the edges so that it does not stick out from behind the shelf.
See more of the striped Expedit back.
~ Laura, South Carolina
Cat Activity Center/Sleep Center
Materials: Ikea Expedit Bookshelf, carpet scraps, sisal rope, cat beds, toys, velcro, staples
Description: A while back, I saw a photo of an old bookshelf converted into sleeping compartments for cats at a cat rescue. It was old and dirty, but I thought it was brilliant. Sooo- I had the idea to buy a 4x2 Ikea Expedit bookshelf to convert into an entire Cat Activity Center
The carpet and sisal are attached with staples. I had two extra spaces when I was done, so I added some regular rope for them to play with and some self-grooming brushes. As you can see, the center is a hit with my cats (I volunteer as a foster for a cat rescue).
The best part, I got the Expedit second-hand from a neighbor, so the whole thing was MUCH cheaper than those cat trees you buy at the pet store.
~ Susanne Campbell-Vincent, La Habra, CA, USA
Labels:
Expedit,
pet furniture
Secret Passage and Fort for Kids Using Expedit Bookcase and Desk
Materials: Expedit
Description: I recently redid my little boy's room. Like everyone, we didn't want to spend a lot of money, yet wanted something that would last into his teenage years.
We decided to purchase the Expedit bookcase and desk since they would grow with him. When he's an adolescent, he'll actually be able to use the desk as a desk, but while he's a toddler, the bookcase serves as a
toy/book organizer as well as a secret passage into his fort which is actually the area under the desk.
To create the fort, I took a shower curtain rod and a sheet to make the curtain that hangs under the desk. We added a rope light for a few bucks underneath and our little man loves it.
~ Amy W.
Buffet Expedit
Materials: EXPEDIT / EXPEDIT ACCESSORY / GLIRA
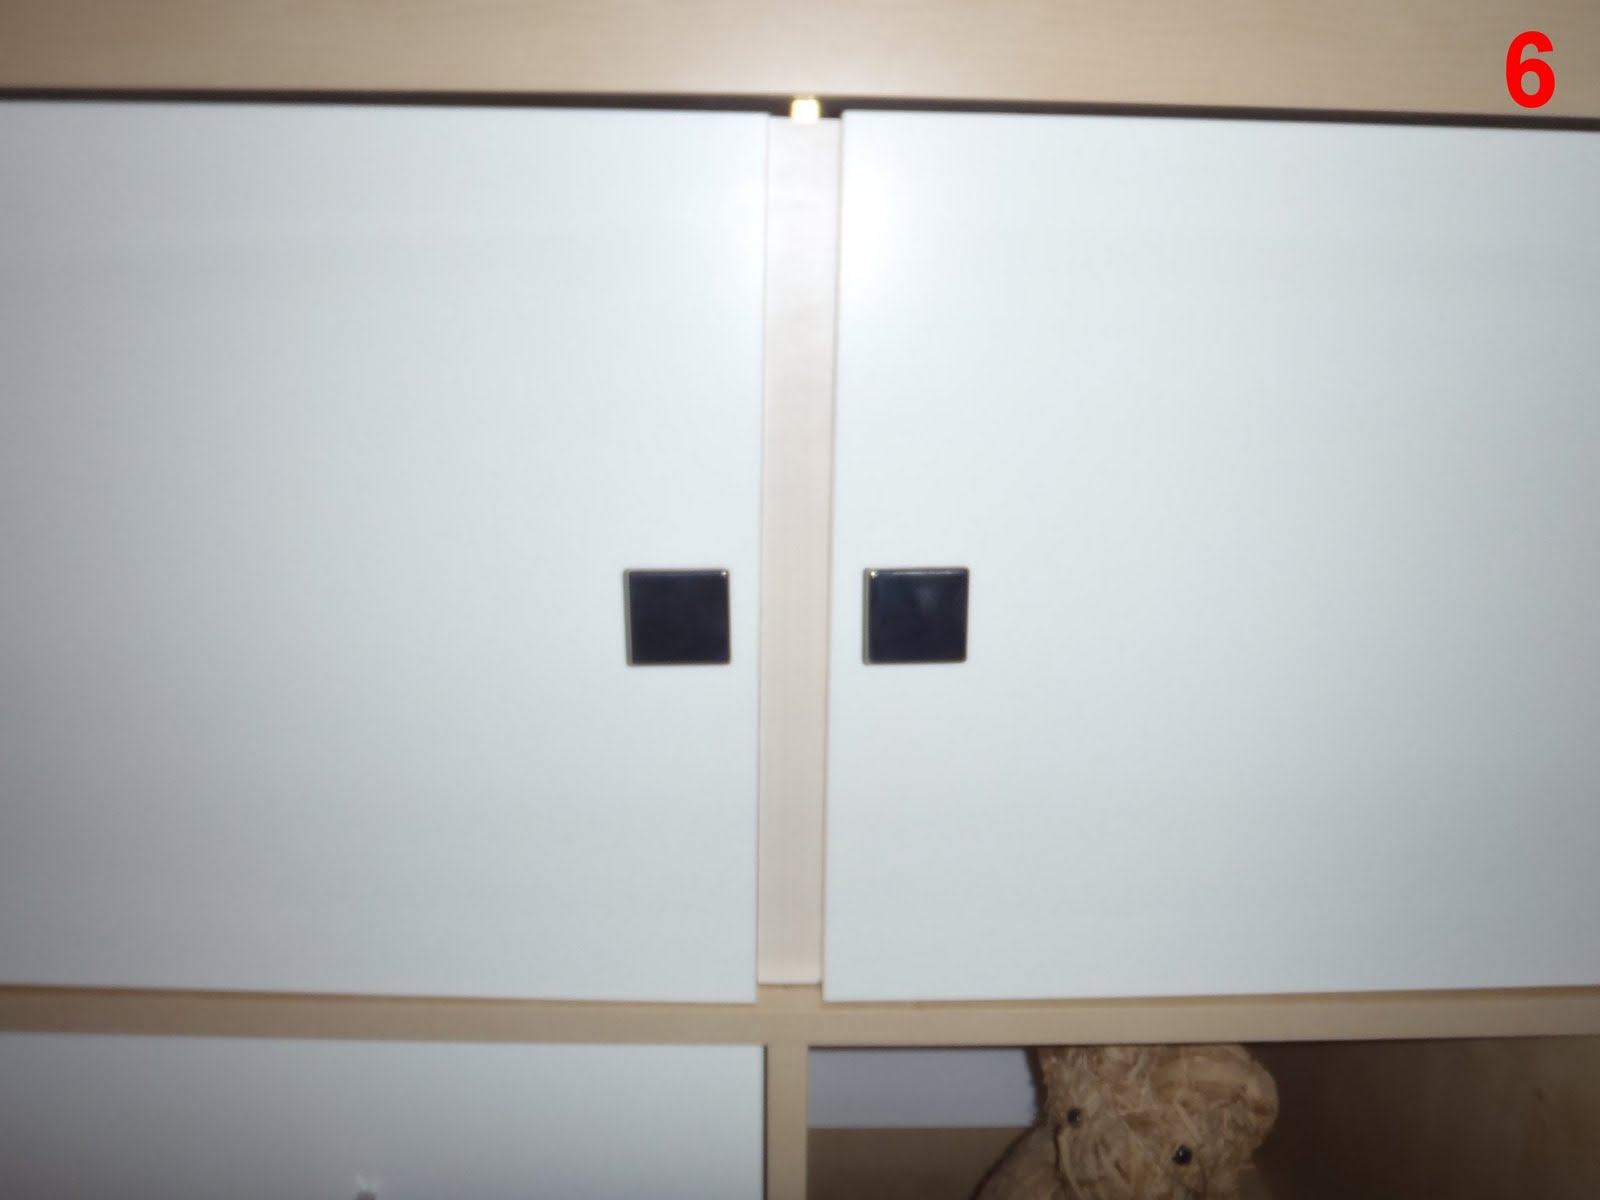
Description: I took a "16 boxes EXPEDIT", and turned it to a buffet. I didn't put the 2 top racks on their places but I replaced them in other boxes (photo #1) with cleats (#2) to create smaller compartments where I can arrange CD or other stuff.
On the top, the left large place became a bar (#3). I just added a metal part (covered with adhesive wood grain) (#4 & #5) on one of the door to fill the hole (#6). Change the doorknobs into GLIRA and that's it!
~ Noëlle, Bourg en Bresse, France
Subscribe to:
Posts (Atom)